There is a noticeable lack of information about OpenGL on the web, particularly as you try to search for information regarding more recent versions of the API. Most noticeably, there is not a single book, webpage or video on the internet (as far as I'm aware) that concisely explains in full detail how to compile a program that uses the OpenGL API and that
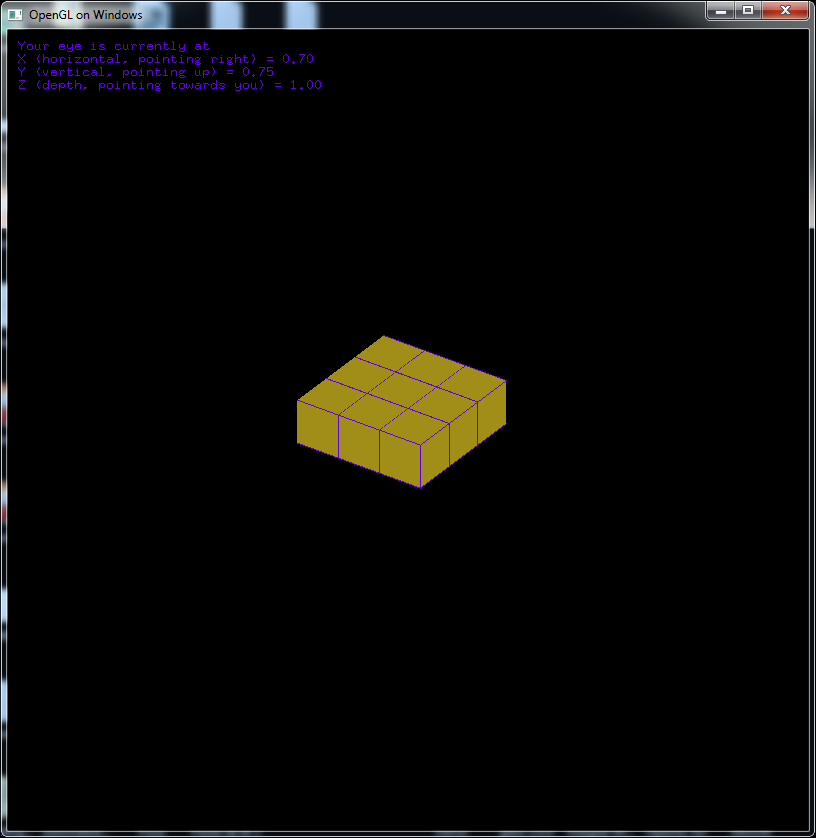
The goal of this page is to provide such an explanation, along with reasonably complex source code for you to test your compiler on (and not just the typical trivial red triangle sitting on the screen), as well as a superficial short explanation of what each library is for, aimed at people who are writing their first OpenGL program. Additionally, the final program should be able to run on other Windows machines, without the need to install anything else (i.e. run natively on Windows machines).
The goal of this page is not to provide an in-depth explanation of these libraries' purpose, nor to provide in-depth information of the compiling process (ex: how to cross-compile towards other machines, how to compile 64 bit programs instead of 32 bit, etc).
The process here described works on a Windows 7 64 bit machine, with the libraries specified above, to compile and run 32 bit programs.
If you are new to programming in general, you may not understand what good it'd be to compile a 32 bit program on a 64 bit machine. All you need to know is that this works, and that it'll pose no problem in running the program. Windows will make sure to run it in a special compatibility mode which emulates ("fakes") a 32 bit OS.
You must know GLSL, C and the OpenGL API to follow the code to test your program. However, you are not required to know any language to follow the tutorial, as we'll not be writing any programs of our own, but simply setting up the environment in which we are able to do so. If you are using C++, adapting this tutorial to use your compiler should be easy, but I have not done so and am unaware of any possible surprising ways in which such an adaptation may fail.
MinGW is, succinctly but incorrectly, gcc for Windows.
More correctly, MinGW is a collection of compilers, identical to the GNU Compiler Collection on Linux, and some GNU libraries.
MSYS, which is a command line interpreter (like cmd.exe) with a collection of common Linux programs such as make and grep, can optionally be installed along with MinGW (we'll be needing it).
MinGW and MSYS's website can be found here, and the MinGW installer's webpage can be found here (this installer will also serve to install MSYS).
MinGW's installer has a graphical mode (the default mode) and its installation webpage is mostly clear and easy to follow, but, if everything works for you as it did for me, you should be able to install everything successfully by reading only the following sections:
Regardless of which sections you do end up reading, the installation process is pretty standard and intuitive. The only thing to note is where you end up creating your MinGW folder. Personally, I chose to leave mine as the installer suggests, located at C:\ (with the full path to the folder being C:\MinGW\). I will be assuming that you did so as well, but in case you didn't, don't forget to replace C:\MinGW\ with Your\Path\To\The\MinGW\Folder\ as you read this text.
Assuming you've run the installer (which should be easy, as you don't even have to modify any of the default settings), you should now have something called "MinGW Installation Manager" on your computer. Running this program will present you with a list of packages available for you to install. The packages you're going to need are:
Installation > Apply Changes and Discard, then reselect the packages listed above.Installation > Apply Changes and Apply).
Finally, once everything is installed, go to C:\MinGW\msys\1.0\, right click on msys.bat and create a desktop shortcut for it. Go to the desktop, click on that shortcut and you should see a command line window appear.
To make sure you're able to use the compiler, create a C source code file (example provided below), place it in C:\MinGW\msys\1.0\home\YourWindowsAccountName\ (the full path to the file, after placing it, should be C:\MinGW\msys\1.0\home\YourWindowsAccountName\FileName.c) and issue gcc -o FileName.exe FileName.c on your MSYS window. This should create an executable which you can run either by issuing ./FileName.exe or FileName.exe.
        #include <stdio.h>


        int main(void) {

            puts("I work");

            return 0;

        }
At this point, if everything happened as described and you successfully compiled and ran a program, MinGW (+ MSYS) should be working in full.
FreeGLUT is a windowing library. It sets up windows in which you can render OpenGL objects. We need it because OpenGL, by itself, does not know about the environment in which it exists - it doesn't know whether it's on a Windows window, a Linux window or a MacOS window. While FreeGLUT is not the only way of doing this (there are many other libraries with similar purposes), it's one of the most tried and tested ones. In extremis, we wouldn't even need to install a library like this, and could just resort to using Windows's own window-related functions, but this would make our code unportable. Using FreeGLUT ensures that our code will run (mostly) unaltered on basically any platform you're realistically going to encounter.
FreeGLUT's website can be found here, but we're actually going to focus on another website. The reason for this is that FreeGLUT's website does not provide the compiled libraries - only their source code - while the second website does (on top of having its own guide to installing FreeGLUT). Downloading the libraries from this website will spare us the trouble of trying to compile things on Windows.
You can download the compiled libraries from the second website linked in the previous paragraph at this link. While that website's guide to installing FreeGLUT should work, and I encourage you to read it in full later, I recommend you follow a slightly modified version of it at first: Focus on the «Setting Up freeglut With MinGW» section. Instead of creating a folder called C:\Program Files\Common Files\MinGW\freeglut\ to place the lib\ (WhereverYou\ExtractedTheZip\freeglut\lib\) and include\ (WhereverYou\ExtractedTheZip\freeglut\include\) folders in, simply place libfreeglut.a (WhereverYou\ExtractedTheZip\freeglut\lib\libfreeglut.a) and libfreeglut_static.a (WhereverYou\ExtractedTheZip\freeglut\lib\libfreeglut_static.a) in C:\MinGW\lib\, doing the same for freeglut.h (WhereverYou\ExtractedTheZip\freeglut\include\freeglut.h), freeglut_ext.h (WhereverYou\ExtractedTheZip\freeglut\include\freeglut_ext.h), freeglut_std.h (WhereverYou\ExtractedTheZip\freeglut\include\freeglut_std.h) and glut.h (WhereverYou\ExtractedTheZip\freeglut\include\glut.h) by placing them in C:\MinGW\include\GL\.
Additionally, don't bother placing freeglut.dll (WhereverYou\ExtractedTheZip\freeglut\bin\freeglut.dll) in either System32 or SysWOW64. Instead, simply place it on a folder on your desktop (this is where you'll keep all of your OpenGL program's code).
Since all of the FreeGLUT files that needed to be compiled had already been so, and since we can't compile anything yet (we still need another library), this is all you need to read of that webpage for now. As I have already said, I encourage you to read the rest at a later time, but for now there's really no need.
OpenGL has had many, many, many extensions/revisions during its life. A side-effect of this is that it forces you to manually enable many of these extensions it's had over the years. While possible to do this yourself, it's extremely (emphasis on "extremely") cumbersome. GLEW takes care of this for us by testing which extensions are available on your platform and enabling them automatically. The result is that you can use the entirety of OpenGL that's available on your platform instead of being restricted to a very basic and somewhat archaic subset of the API.
Unlike FreeGLUT, the GLEW developers provide compiled binaries on their website. However, at the time of writing (January 10th, 2017), those binaries were compiled to be used with Visual Studio and do not work without it. As the goal of this text is to compile an OpenGL program without using Visual Studio, you'll instead have to compile the binaries yourself. However, again, there's a bug in the makefile to generate the binaries from GLEW's source code. As a result of all this, we'll have to patch the makefile first, and only then may we compile the source code. On the plus side, this is a chance to further test whether or not MSYS is working well, as we'll be using it to run make.
Start by downloading the source files from the GLEW project website, or directly from this link. After unzipping them, go Wherever/YouUnzziped/glew-2.0.0/ and open Makefile with any editor you like. Then, as per the instructions here, place
        ifeq ($(filter-out mingw% cygwin,$(SYSTEM)),)

        BIN.LIBS := $(BIN.LIBS:-nostdlib=)

        endif
        # GLEW utility programs


        BIN.LIBS = -Llib $(LDFLAGS.DYNAMIC) -l$(NAME) $(LDFLAGS.EXTRA) $(LDFLAGS.GL)
# GLEW utility programs


        BIN.LIBS = -Llib $(LDFLAGS.DYNAMIC) -l$(NAME) $(LDFLAGS.EXTRA) $(LDFLAGS.GL)

        ifeq ($(filter-out mingw% cygwin,$(SYSTEM)),)

        BIN.LIBS := $(BIN.LIBS:-nostdlib=)

        endif
After modifying your Makefile, open up the MSYS command line and navigate to the root (cd ../..). Next, mount Window's filesystem onto MSYS's "filesystem". For example, if you've been downloading your files to C:/, you'd issue the command mount C:/ /WindowsFS (The name you choose for the second argument is irrelevant, as long as it's preceded by a /). You can think of this command as placing a link to C:/ on the root folder
C:/, you'll need to travel to wheverever you have GLEW's files (including the modified Makefile instead of the original one). In my case, I extracted them to my desktop, which lives on my C: drive, onto a folder called glew-2.0.0, and my Windows account is called Penguin, so I'd issue a command like cd WindowsFS && cd C:/Users/Penguin/Desktop/glew-2.0.0/glew-2.0.0/ (no, I did not repeat glew-2.0.0 mistakenly - that's where I actually have my files).make all command, and that's it: you should now have compiled GLEW binaries ready to use.
Finally, it's time to move all of the binaries you generated into their places. The process is similar to the one for FreeGLUT: .a files go in lib/, .h go in include/ and .dll files go onto the folder where we're keeping all of our OpenGL program's files (recall that I instructed you to create such a folder at the end of the previous section).
To go into full detail, let's say the folder where you have your GLEW Makefile (along with everything else GLEW-related) is simply glew/ and that the folder with all the OpenGL program's files is my_program/. Then you'll need to copy glew/lib/glew32.dll to my_program/ and glew/lib/libglew32.a along with glew/lib/libglew32.dll.a to C:\MinGW\lib\. Pay special attention to these last 3 files, as they have very similar names, but one is to be put in one folder while the other two belong in another folder.
Finally, place all of the files in glew/include/GL/ (eglew.h, glew.h, glxew.h and wglew.h) in C:\MinGW\include\GL\.
This concludes all of the preparation to compile an OpenGL program on Windows. To recap, this should be the content of your folders:
C:\MinGW\include\GL\
eglew.h (GLEW)freeglut.h (FreeGLUT)freeglut_ext.h (FreeGLUT)freeglut_std.h (FreeGLUT)gl.h (Placed by MinGW)glew.h (GLEW)glext.h (Placed by MinGW)glu.h (Placed by MinGW)glut.h (FreeGLUT)glxew.h (GLEW)wglew.h (GLEW)C:\MinGW\lib\
libglew32.alibglew32.dll.alibfreeglut.alibfreeglut_static.aThe folder where you're keeping your OpenGL program's files
freeglut.dllglew32.dllThis is possibly the easiest step. First, download the source code I've provided here, here and here. Obviously, given the purpose of this entire webpage, you need not use my code for this step, but doing so eliminates the possibility of the compilation failing because of errors in the code and gives you a reasonably complex program to test your compiler setup with. Don't bother analysing the code (although you may modify it or repurpose it any way you want, as I am the owner of the code, as long as you do not hold me liable for its well-behavedness or anything else).
Having downloaded the files, place them in the folder where you're keeping your OpenGL files. Then, open MSYS and issue the command cd ~/../../WindowsFS/ && cd C:/Users/Penguin/Desktop/SaidOpenGLFolder.
Finally, the last command you have to issue is gcc -Wall -Wpedantic -o program.exe opengl.c opengl_math.c -lm -lglew32 -lfreeglut -lopengl32 -Wl,--subsystem,windows. While explaining this command in-depth is beyond the scope of this webpage, -Wall -Wpedantic make the compiler be stricter, -o program.exe names the generated executable, -lm links the math library and -Wl,--subsystem,windows tells the linker (-Wl) that this will be a graphical program (--subsystem,windows) and that it shouldn't generate a console window when you run the program - try compiling the code I provide without this last flag to see an example of what I mean. -lglew32 -lfreeglut -lopengl32 link the GLEW, FreeGLUT and OpenGL libraries, respectively, to the program, and are the only ones that should be new to a moderately competent C programmer (along with -Wl,--subsystem,windows if they aren't used to compiling on Windows - in which case they might be interested in reading more about it, so here's a place to get started).
And that's it, you should have a program ready to run, either from MSYS via ./program.exe or program.exe, or via double clicking on its icon like you'd do to any other Windows program. This program should be completely portable across Windows 7 (and over) versions, so you can share it with whoever you want. Don't forget to read the Caveats section, though (I wrote it for a reason!)
.dll files in the same folder as your executable for it to work. Solutions to this would be to somehow instruct Windows to look for them elsewhere (which I have not looked into, but should be relatively easy to do), to statically link all of the required libraries to the program (which would increase the executable's size; if you're interested in this, now is the time to finish reading this in full as well as this StackOverflow question) or to simply dump the .dlls where Windows will look for them automatically (which makes sharing your program harder, but easier to move around once the .dlls are in place; if you're interested in this, I suggest once more reading this).-lSomething, refusing to work properly if they are not the last options passed to it (as I have taken the care to assure above).#include <Windows.h> before you #include <GL/glut.h>. However, the program I provided seems to compile without doing so (although I've done it anyway). I'm not exactly sure of why this is the case (it might be that some of the other libraries is already including Windows.h), but to be on the safe side, don't forget to always include it.I make no claim of ownership of the tools presented nor of the webpages hosted at the links provided. I am not associated with any of these people or projects, and most likely they do not even know of my existence. I have merely written down what I learnt from a particularly frustrating experience of my own in hopes that it'll help someone else out there (and so that I don't forget it).
If you wish to contact me for any reason, you can do so at aa.santos@campus.fct.unl.pt, but please understand that I'm most likely not going to be able to help you if this tutorial doesn't work for you, as I'm neither a professional in setting up OpenGL work environments, nor do I ever wish to become one. If you have some suggestion to alter something, but don't want to email me, feel free to suggest a pull request on GitHub.